Creating a Gantt chart in Excel is an excellent way to visualize your project timeline and track progress. While it may seem daunting, making a Gantt chart in Excel is easier than you think. With a few simple steps, you can create a professional-looking chart that will help you stay organized and on track. Here are the steps to follow:
1. Determine Your Project Timeline
Before you start creating your Gantt chart, you need to determine your project timeline. This includes the start and end dates of your project, as well as the duration of each task. Make a list of all the tasks involved in your project, and estimate how long each one will take. This will help you create a realistic timeline and ensure that your Gantt chart is accurate.
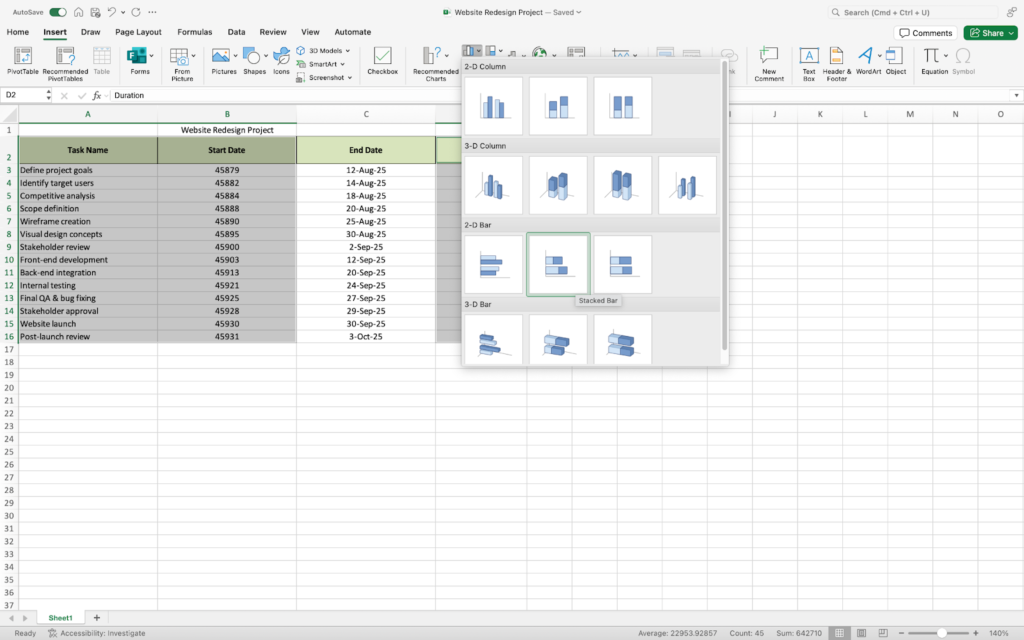
2. Set Up Your Excel Spreadsheet
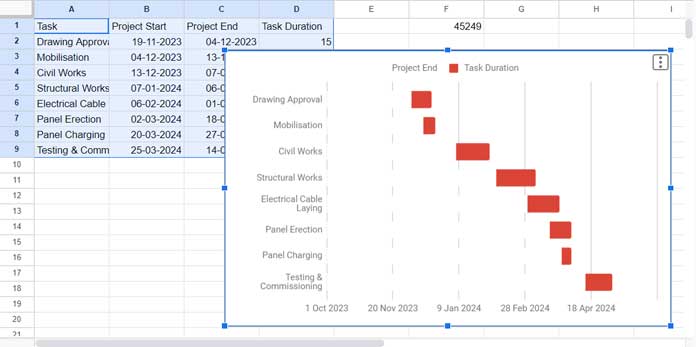
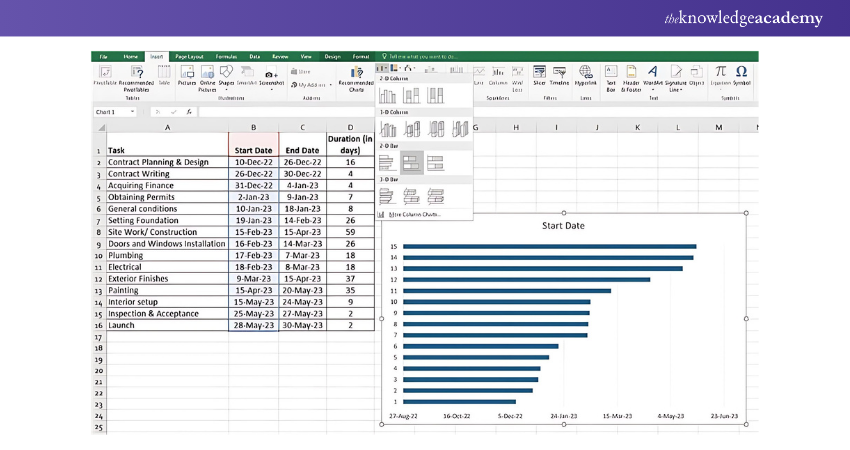
To create a Gantt chart in Excel, you'll need to set up a spreadsheet with the following columns: Task, Start Date, End Date, and Duration. You can also add additional columns to track other information, such as resources, dependencies, and progress. Make sure to format your columns correctly, with the task names in one column and the dates in another.
3. Enter Your Task Information
Once your spreadsheet is set up, you can start entering your task information. Begin by listing each task in the "Task" column, followed by the start and end dates in the corresponding columns. Make sure to enter the dates in a format that Excel can understand, such as MM/DD/YYYY. You can also use formulas to calculate the duration of each task automatically.
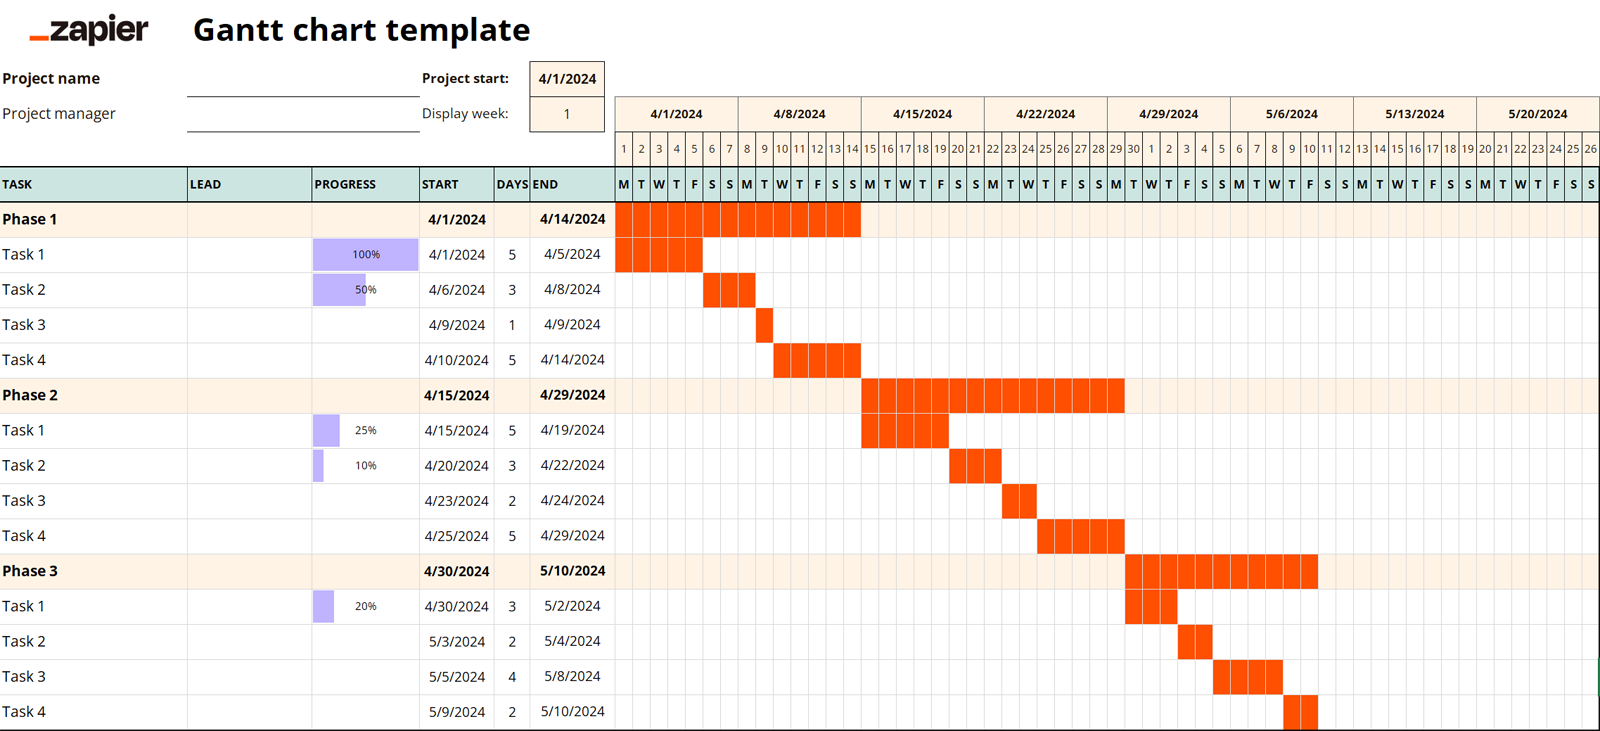
4. Create a Gantt Chart Template
While you can create a Gantt chart from scratch, using a template can save you time and effort. Excel offers a range of built-in templates, or you can download one from a third-party website. A template will give you a basic structure to work from, with columns and formatting already set up. You can then customize the template to fit your specific needs.
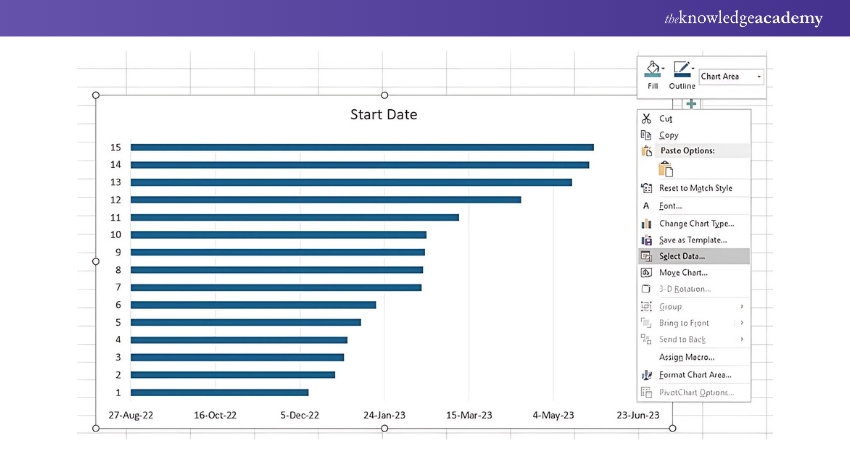
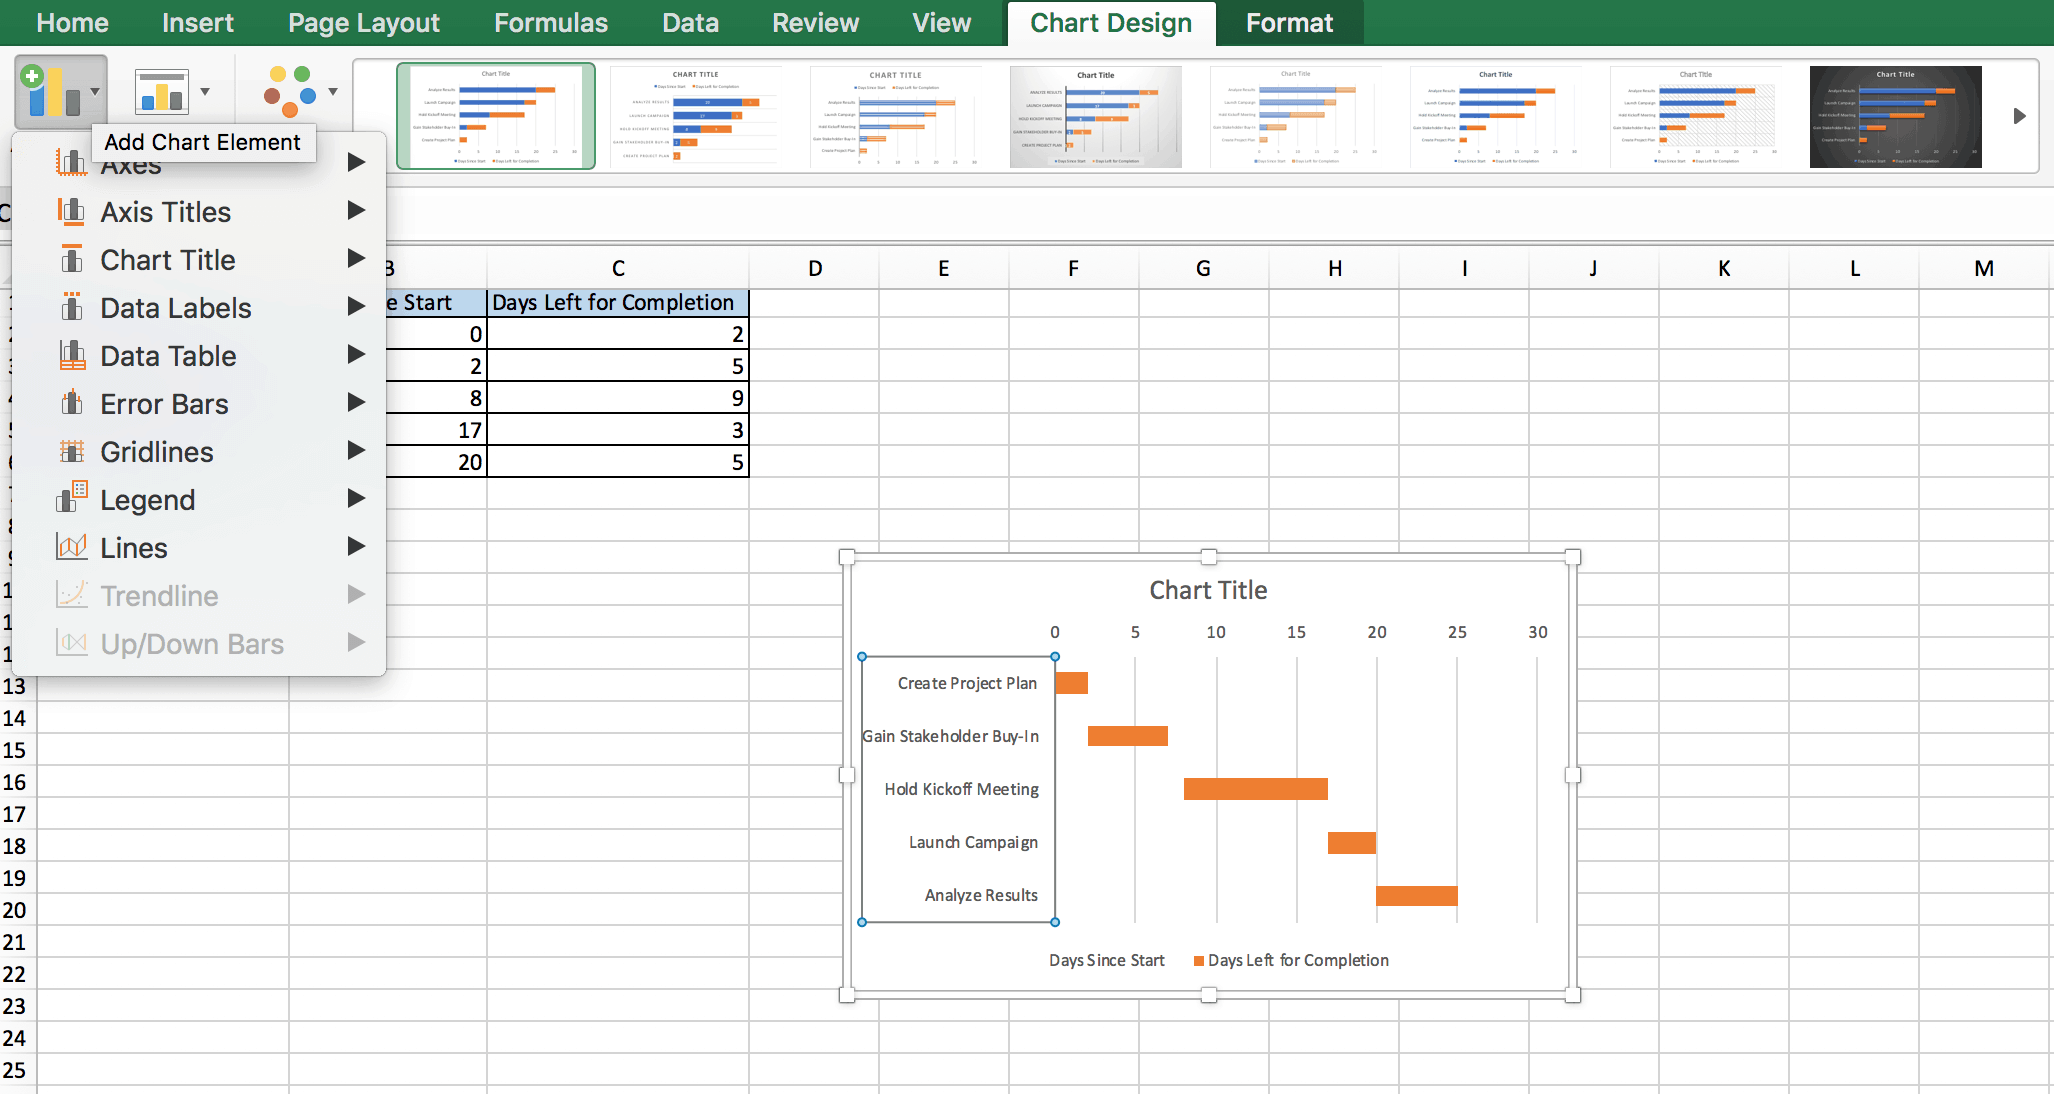
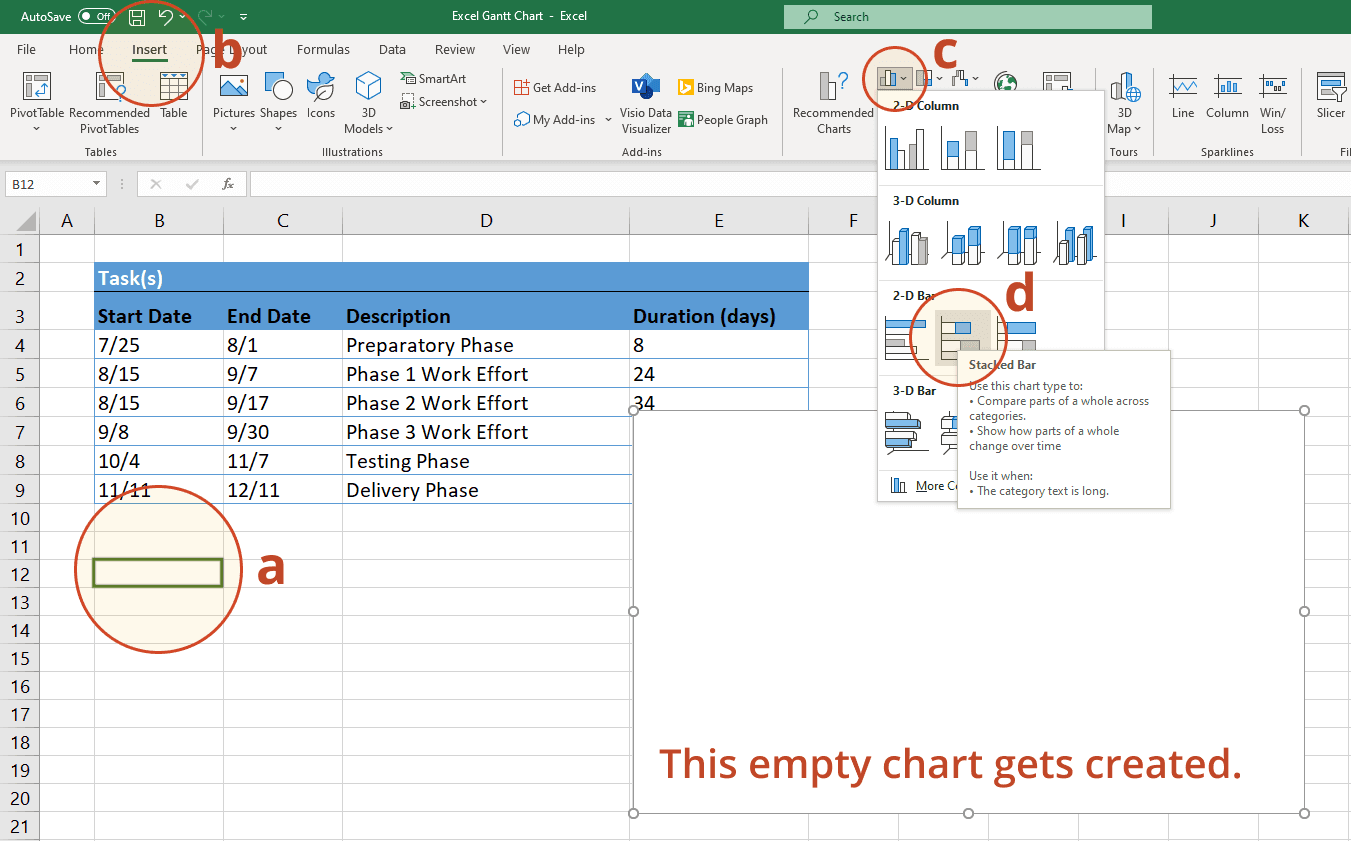
5. Use Conditional Formatting
To create a visual Gantt chart, you'll need to use conditional formatting. This involves highlighting the cells that correspond to each task, and using different colors to indicate the start and end dates. You can also use conditional formatting to highlight dependencies between tasks, or to show progress towards completion.
6. Add a Timeline
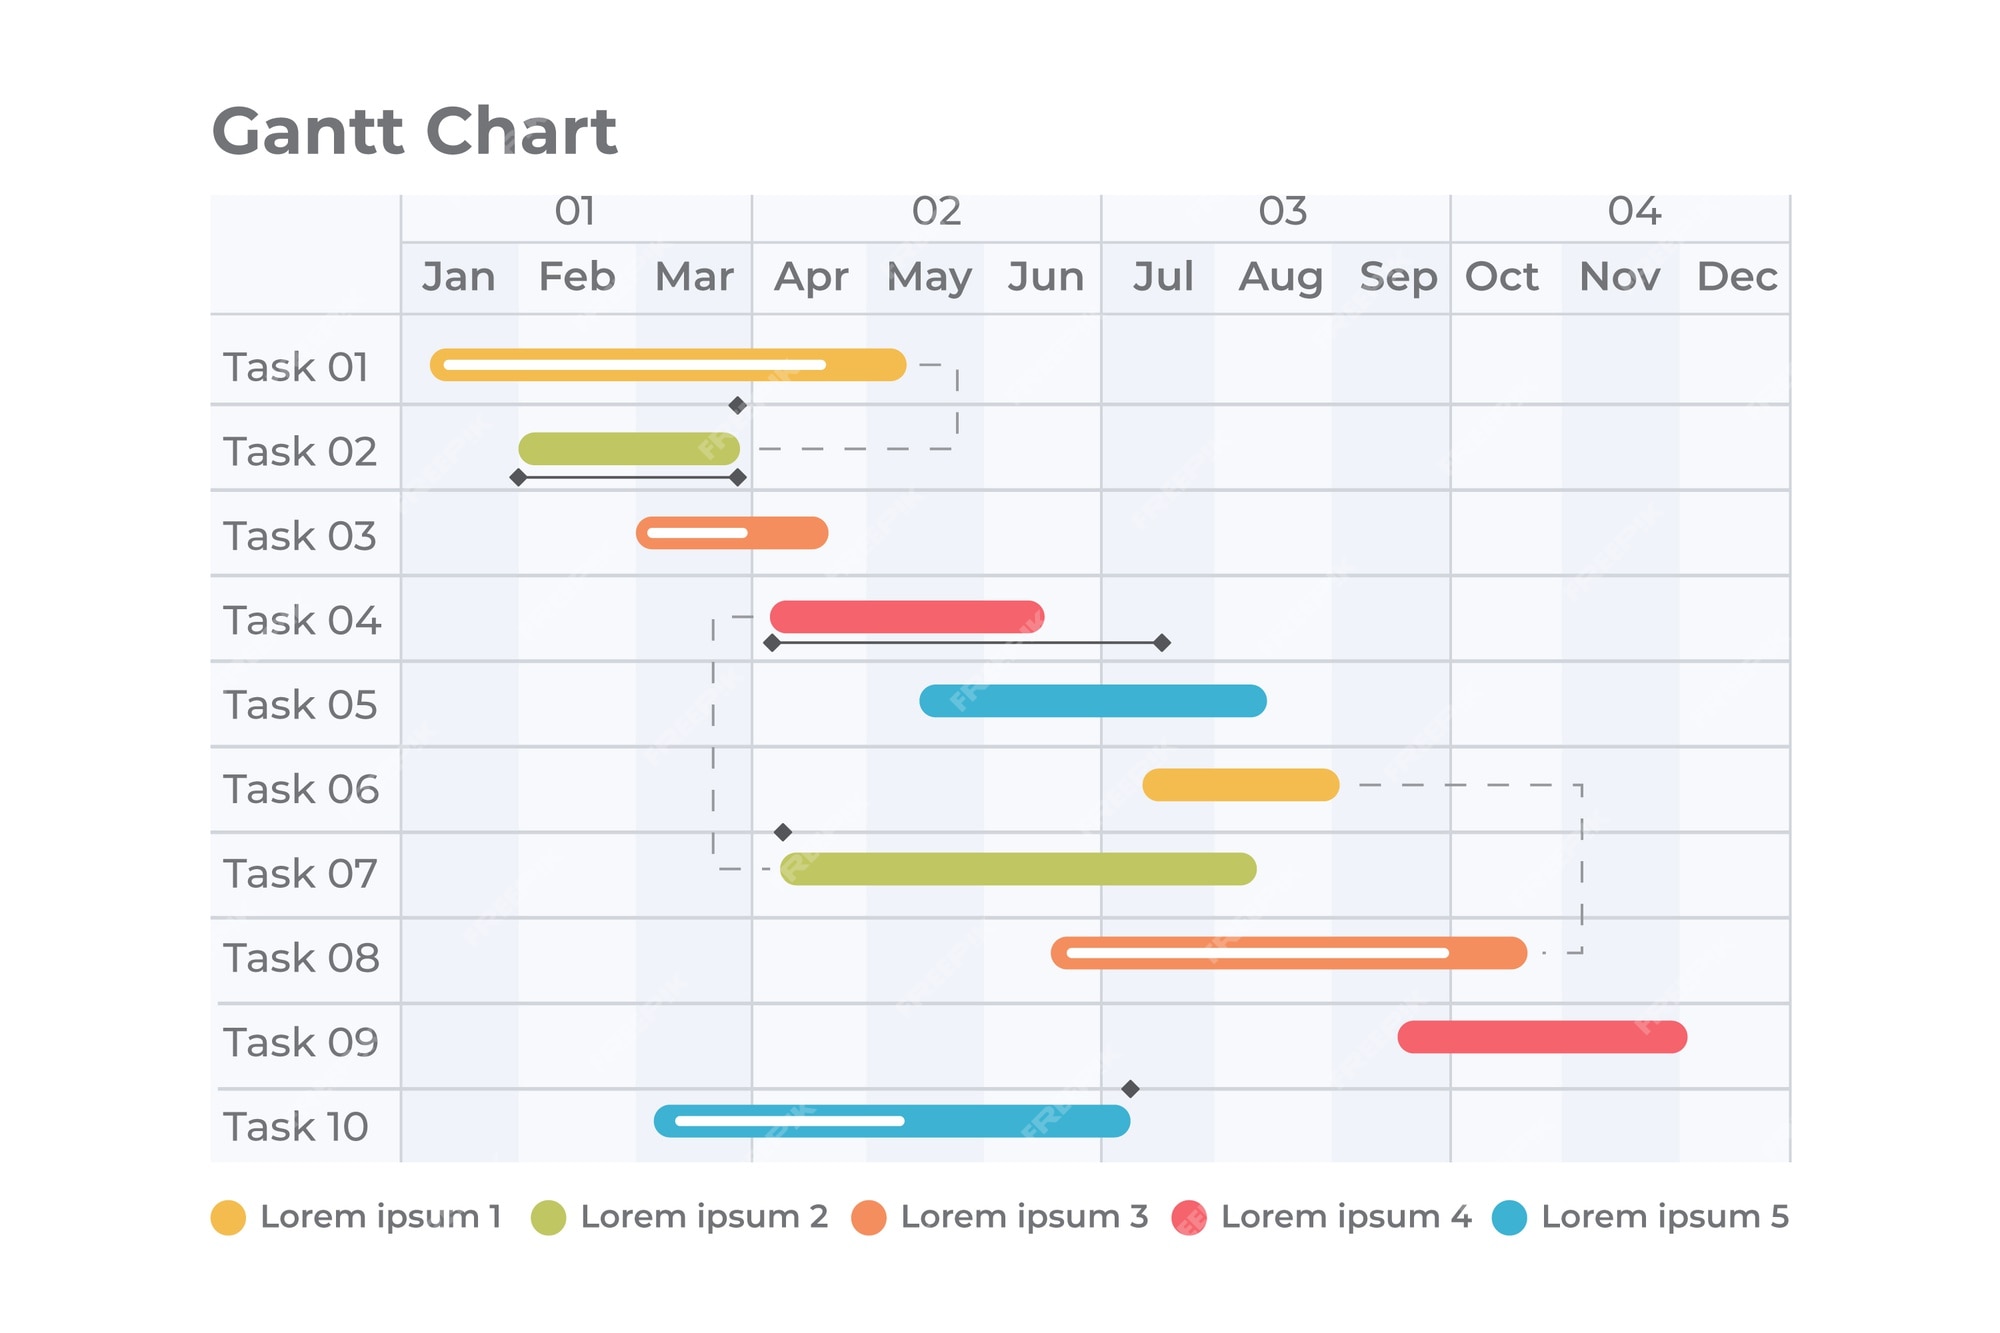
A timeline is an essential component of a Gantt chart, as it shows the progression of tasks over time. To add a timeline, you can use a combination of cells and formatting. Start by creating a range of cells that corresponds to the timeline, and then use formatting to create a visual representation of the timeline. You can use lines, shapes, and colors to create a clear and easy-to-understand timeline.
7. Customize Your Gantt Chart
Once you have the basic structure of your Gantt chart in place, you can customize it to fit your needs. This includes adding additional columns, using different colors and formatting, and creating a legend to explain the symbols and colors used in the chart. You can also use Excel's built-in tools, such as filters and sorting, to make your Gantt chart more interactive.
8. Update and Refine Your Gantt Chart
As your project progresses, you'll need to update and refine your Gantt chart. This involves tracking progress, updating task durations, and making adjustments to the timeline as needed. You can also use Excel's built-in tools, such as formulas and macros, to automate tasks and make your Gantt chart more dynamic.
9. Share Your Gantt Chart
Finally, you can share your Gantt chart with others, either by printing it out or by sharing it electronically. This can help to ensure that everyone involved in the project is on the same page, and that you're all working towards the same goals. You can also use Excel's built-in collaboration tools, such as co-authoring and commenting, to work with others in real-time.
10. Use Excel's Built-in Gantt Chart Tool
Excel 2013 and later versions have a built-in Gantt chart tool that makes it easy to create a professional-looking chart. To access this tool, go to the "Project" tab in the ribbon, and click on "Gantt". This will open a dialog box where you can select the range of cells that contains your task information, and choose the type of Gantt chart you want to create. Excel will then create the chart for you, using the data in your spreadsheet.
If you are looking for How to Make a Gantt Chart in Excel: A Complete Guide you've visit to the right page. We have 10 Pics about How to Make a Gantt Chart in Excel: A Complete Guide like How to create a Gantt Chart with Excel?, Use This Free Gantt Chart Excel Template Gantt Chart Templates Gantt and also How to create a Gantt Chart with Excel?. Here you go:
How To Make A Gantt Chart In Excel: A Complete Guide
 www.theknowledgeacademy.com
How to Make a Gantt Chart in Excel: A Complete Guide
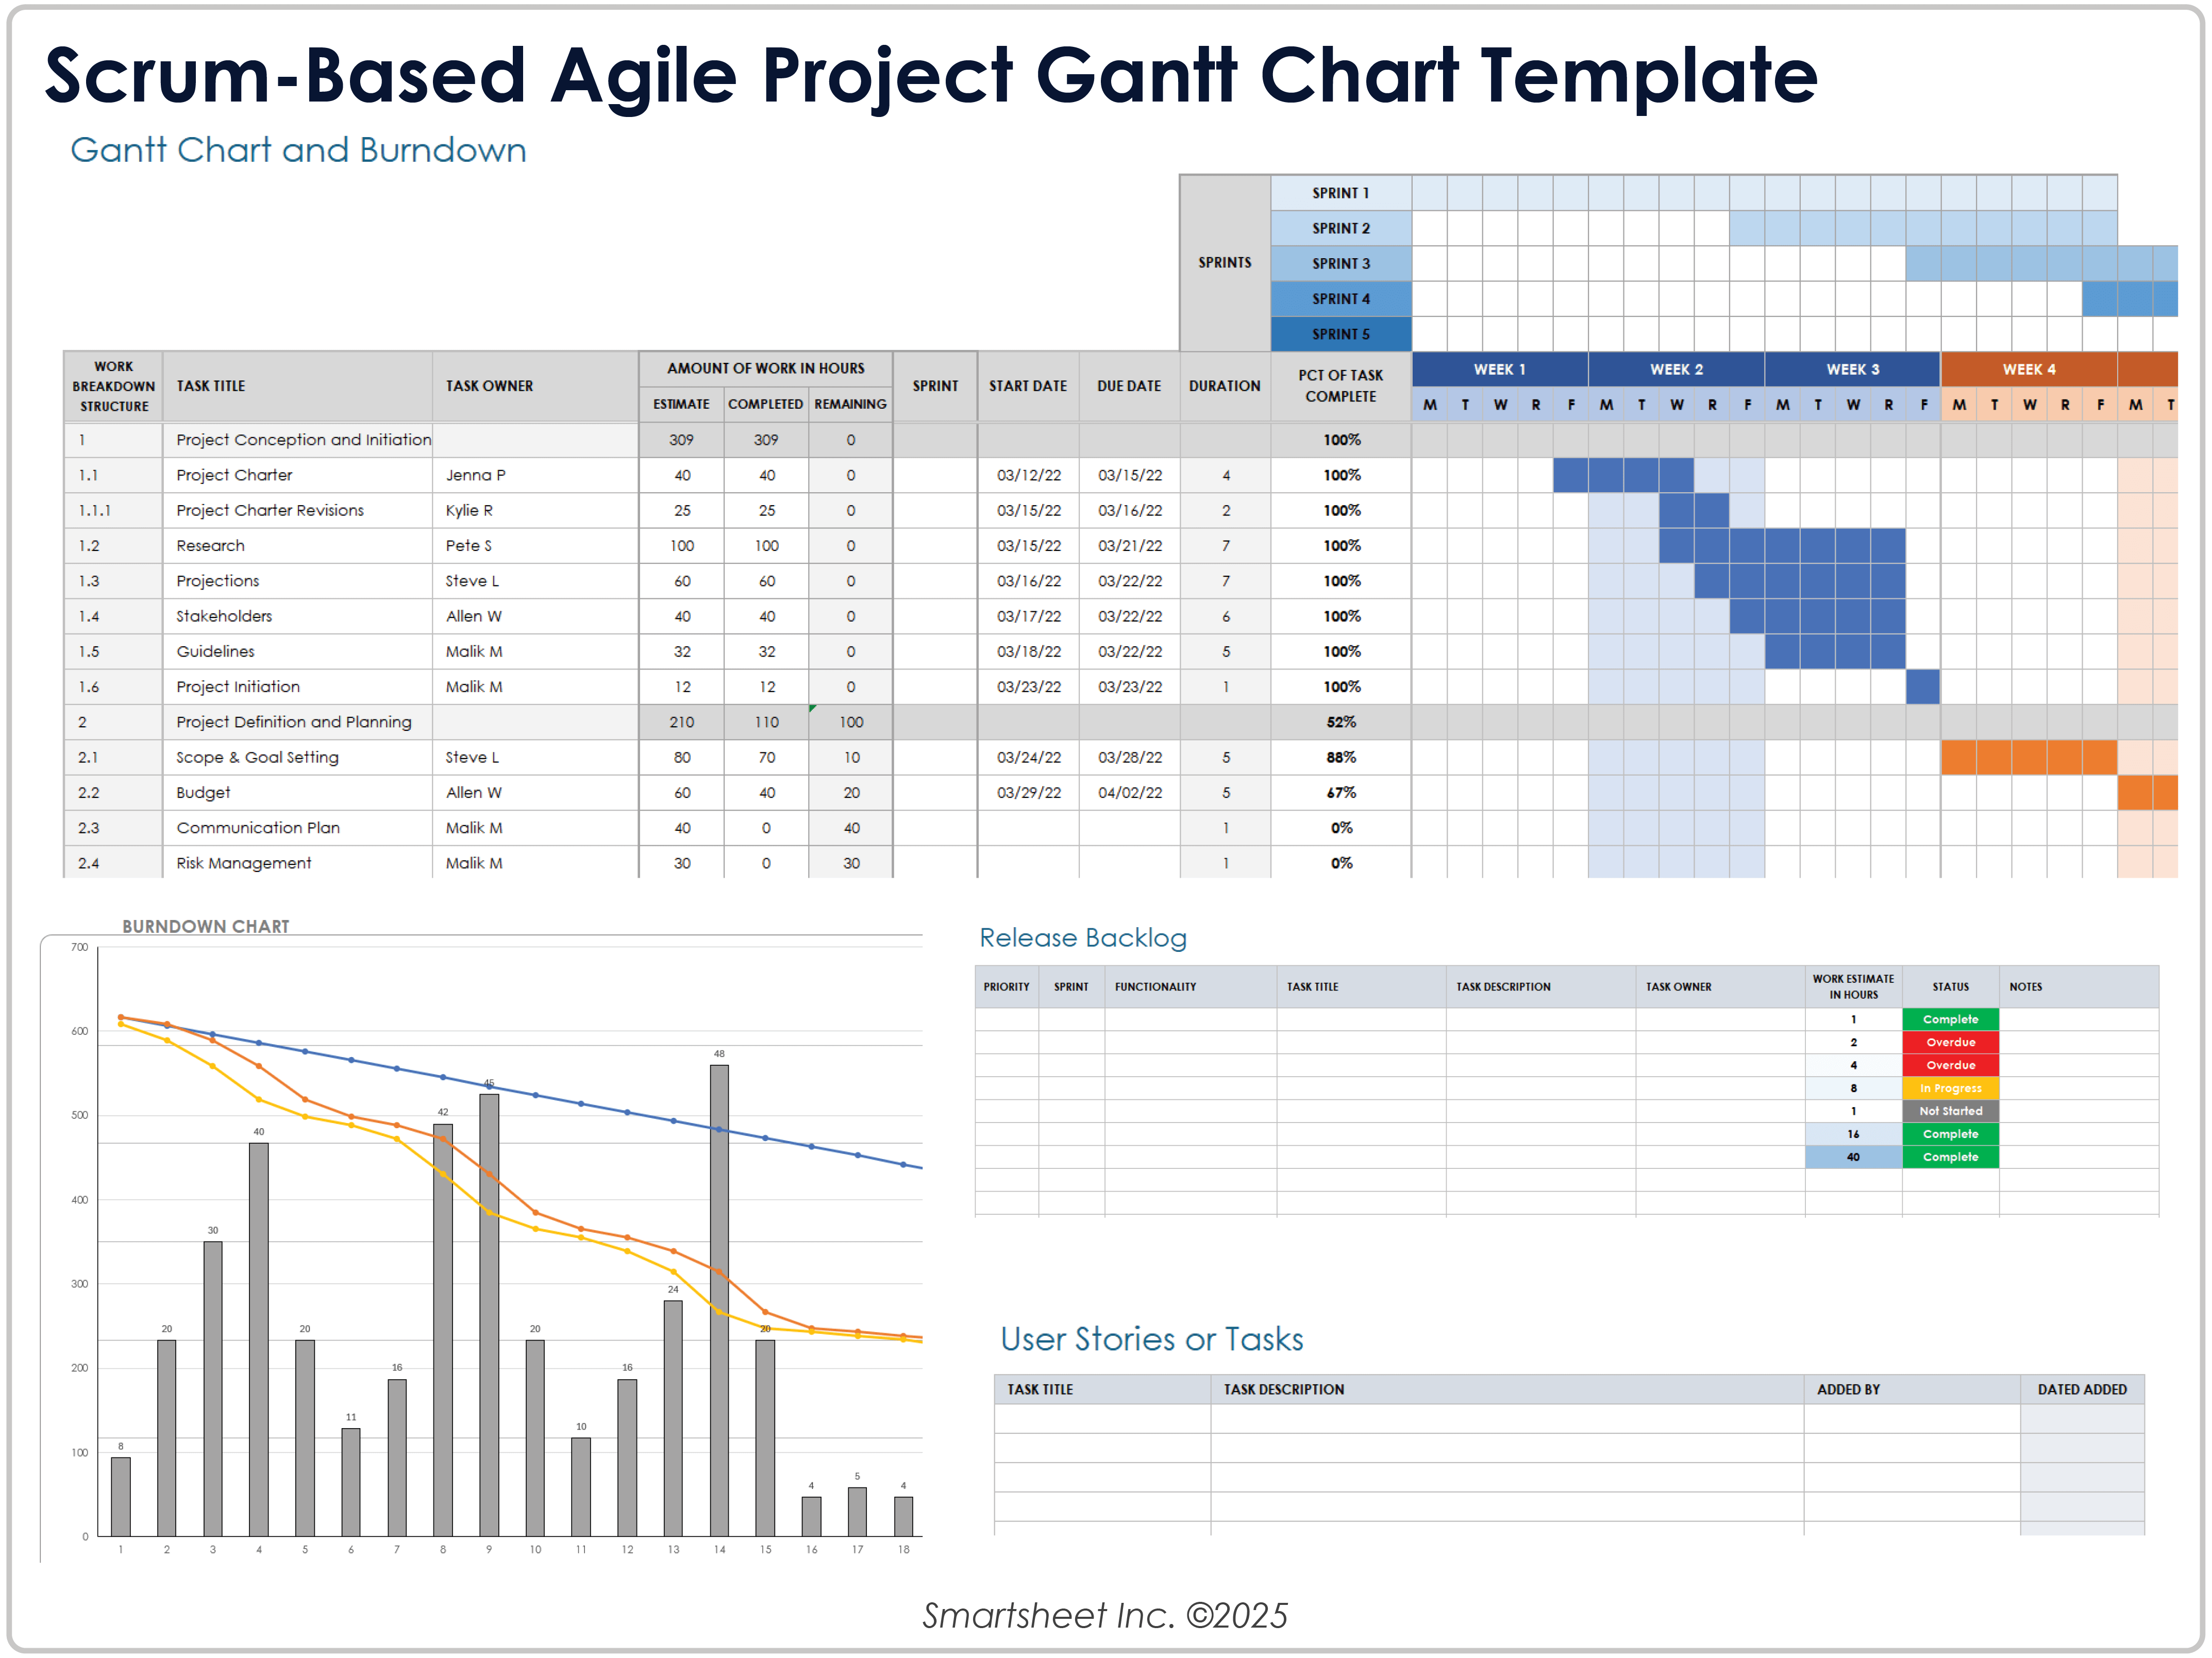
Free Simple Gantt Chart Excel Template Xls - Infoupdate.org
 infoupdate.org
Free Simple Gantt Chart Excel Template Xls - Infoupdate.org
How To Create A Gantt Chart In Excel
 technologyadvice.com
How to Create a Gantt Chart in Excel
How To Make A Gantt Chart In Excel Mac - Infoupdate.org
 infoupdate.org
How To Make A Gantt Chart In Excel Mac - Infoupdate.org
Excel Gantt Chart Tutorial | Free Template
 www.officetimeline.com
Excel Gantt chart tutorial | Free Template
How To Create A Basic Gantt Chart In Excel - Infoupdate.org
 infoupdate.org
How To Create A Basic Gantt Chart In Excel - Infoupdate.org
How To Make A Gantt Chart In Excel: A Complete Guide
 www.theknowledgeacademy.com
How to Make a Gantt Chart in Excel: A Complete Guide
Use This Free Gantt Chart Excel Template Gantt Chart Templates Gantt
 utpaqp.edu.pe
Use This Free Gantt Chart Excel Template Gantt Chart Templates Gantt ...
Gantt Chart Excel 2013 Template Free Gantt Chart Excel Template
 fity.club
Gantt Chart Excel 2013 Template Free Gantt Chart Excel Template
How To Create A Gantt Chart With Excel?
 en.excel-tutorial.com
How to create a Gantt Chart with Excel?
How to create a basic gantt chart in excel. Use this free gantt chart excel template gantt chart templates gantt. How to create a gantt chart in excel

