Creating charts in Microsoft Word can be a valuable skill, especially when you need to present complex data in a clear and visually appealing way. While Word isn't as powerful as Excel for data analysis, it offers a range of chart types that can be customized to fit your needs. Here's how you can make a chart in Word in a step-by-step guide:
1. Open Microsoft Word and Start a New Document
To begin, open Microsoft Word and create a new document. You can do this by clicking on the "File" tab and then selecting "New" from the dropdown menu. If you already have a document open, you can use that as well. Ensure you have the data you want to use for the chart ready, either in the document or in another application like Excel.
2. Prepare Your Data
Before you insert a chart, you need to prepare your data. Typically, this involves organizing your data into a table format. Use the "Insert" tab to create a table, and then input your data. Ensure your data is formatted correctly, with categories in the first column and the corresponding data in the columns to the right. This step is crucial because the structure of your data will directly affect the appearance and accuracy of your chart.
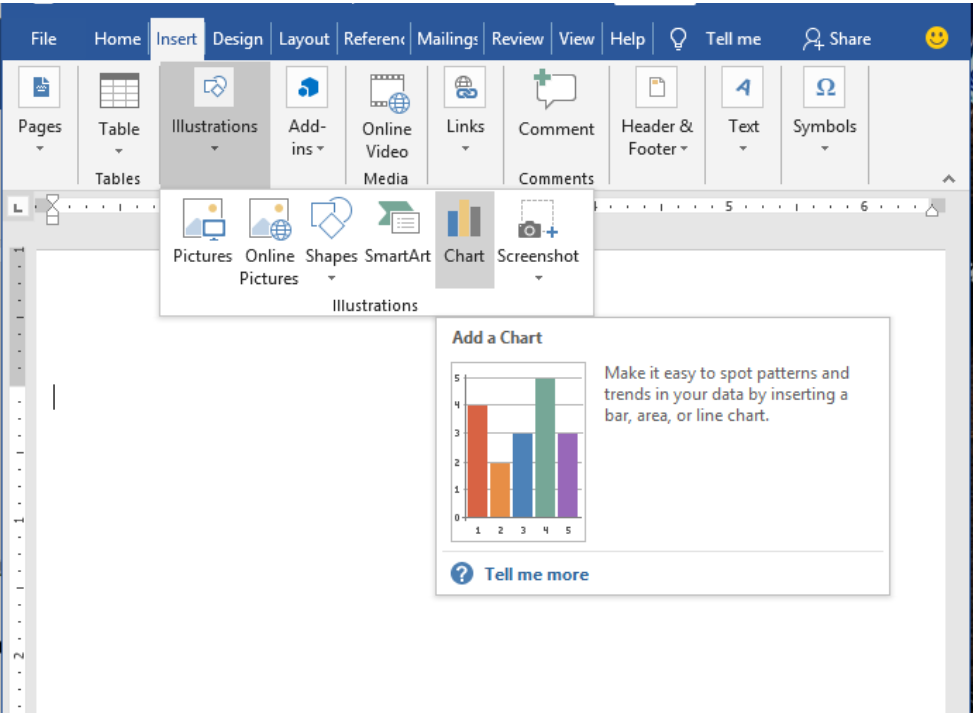
3. Insert a Chart
To insert a chart, navigate to the "Insert" tab on the ribbon and click on "Chart" (it might be under the "Illustrations" group). This will open the "Insert Chart" dialog box, where you can choose from a variety of chart types such as column, line, pie, and more. Select the type of chart that best represents your data and click "OK".
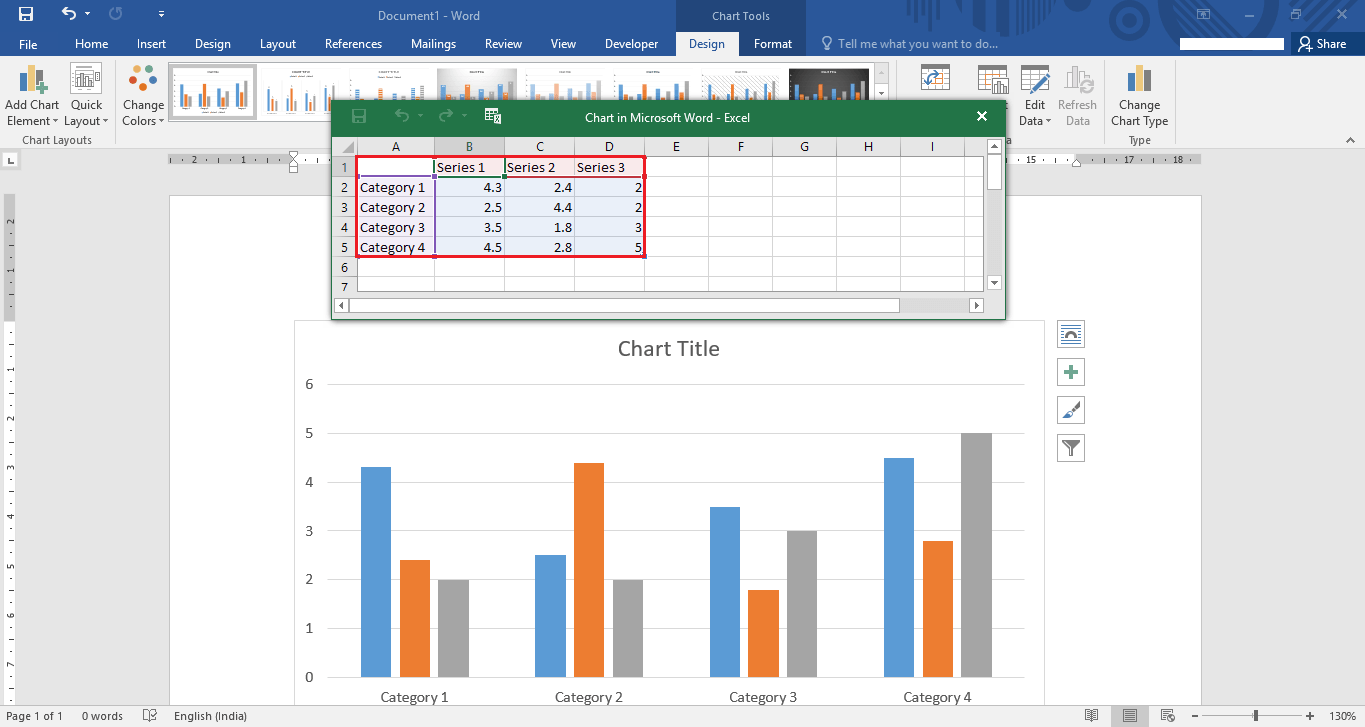
4. Select Your Data Range
After choosing your chart type, you'll be prompted to select the data range you want to use for the chart. If your data is in a table, Word might automatically detect it. Otherwise, you can manually select the range by dragging your mouse over the cells containing your data. Make sure to include headers for the categories and data series if you want them to appear on the chart.
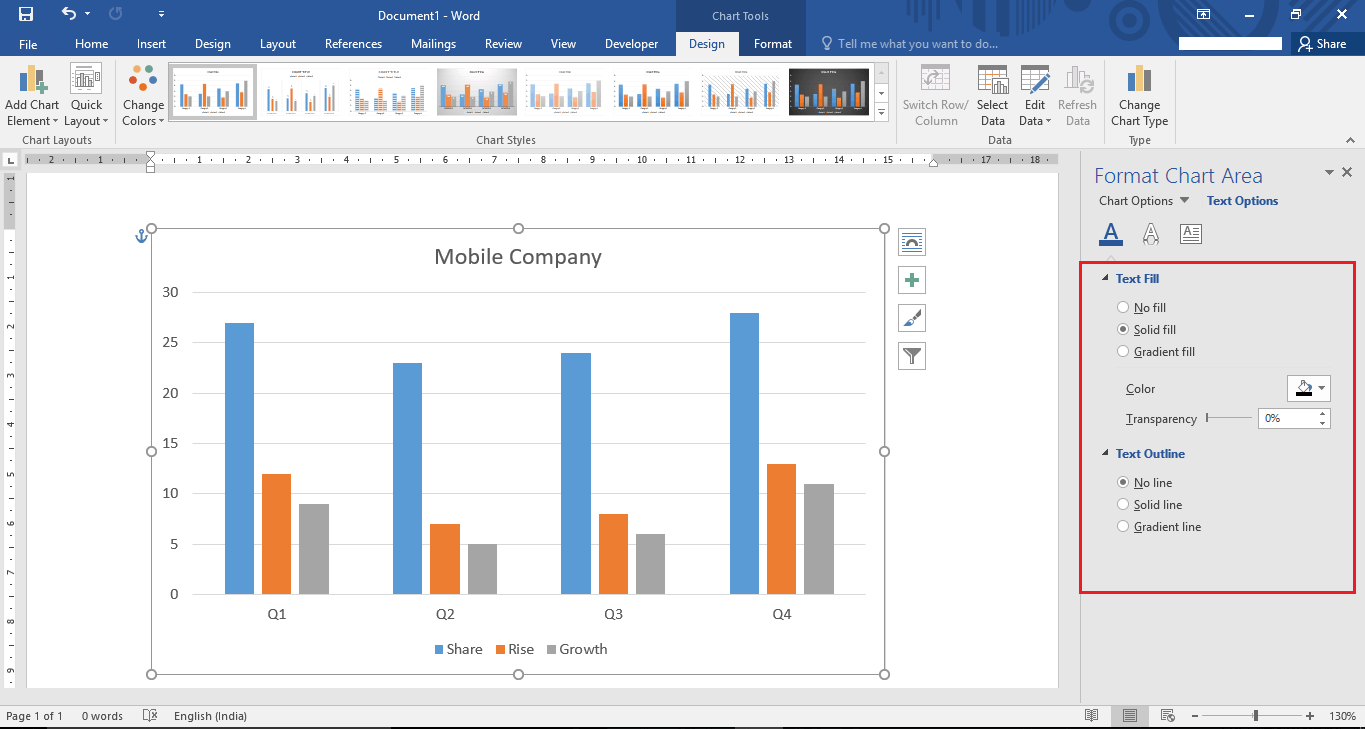
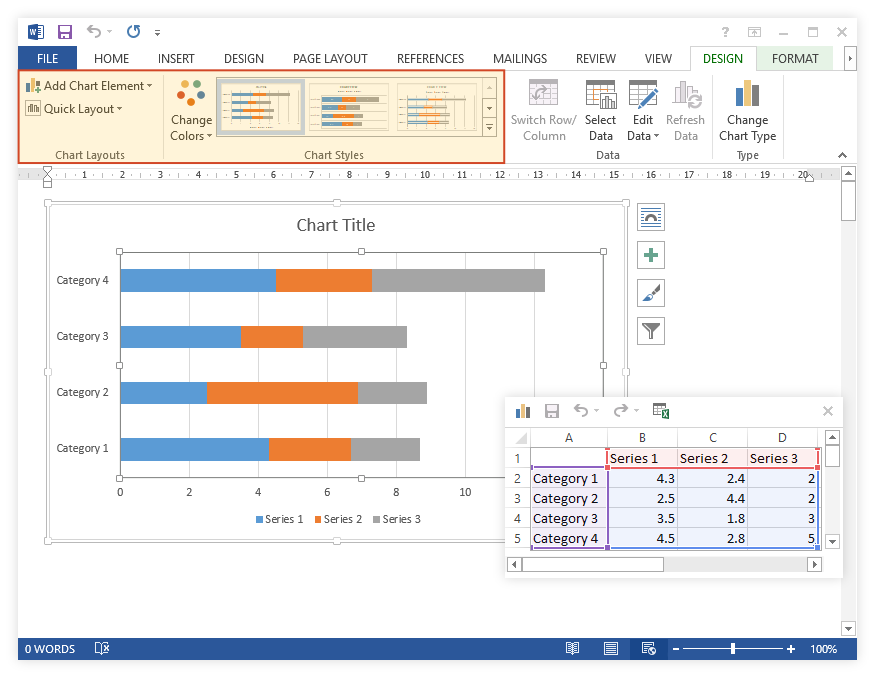
5. Customize Your Chart
Once your chart is inserted, you can customize it to better suit your presentation. You can change the chart title, add data labels, modify the axes, and more. These options can usually be found by clicking on the chart and then using the tools available in the "Chart Design" and "Chart Format" tabs that appear when the chart is selected.
6. Add a Chart Title
Adding a title to your chart can help clarify what the chart represents. To add a title, click on the chart, then go to the "Chart Design" tab. Look for the "Add Chart Element" dropdown, click on it, and select "Chart Title". You can then type your title into the text box that appears on the chart.
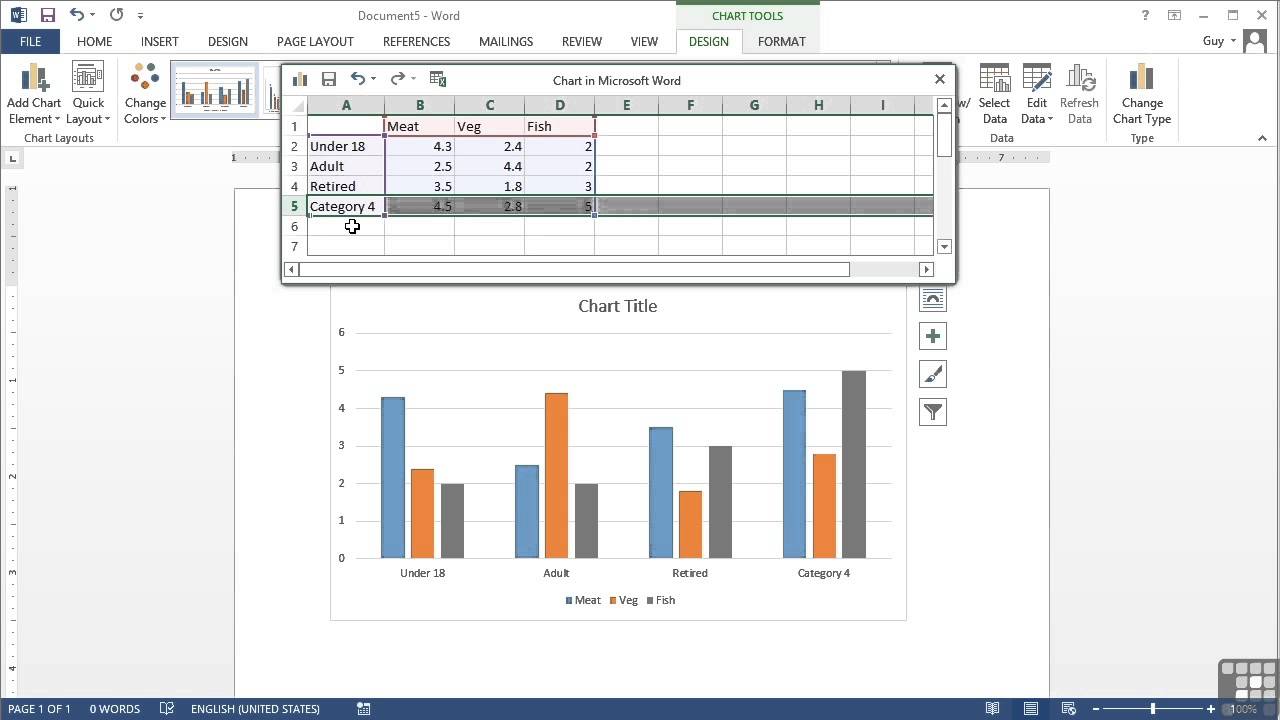
7. Modify Chart Data
If your data changes, you can easily update the chart to reflect these changes. To do this, click on the chart, then go to the "Chart Design" tab and click on "Edit Data". This will either open Excel (if you have it installed) with the chart data or allow you to edit the data directly in Word if your data is sourced from a Word table. Make the necessary changes, and the chart will automatically update.
8. Change Chart Appearance
You can also modify the appearance of your chart to better fit your document's style. This includes changing colors, adding shadows or other effects, and modifying the layout of chart elements. These options are usually found in the "Chart Format" tab and can be applied by selecting parts of the chart and then using the tools available in this tab.
9. Use Chart Templates
For a quicker and more uniform look, you can use the built-in chart templates provided by Word. These can be accessed when you first insert a chart, and they offer a range of pre-designed styles that can save you time and help you achieve a professional look with minimal effort.
10. Finalize Your Chart
After making your chart and customizing it, review your work to ensure the chart clearly communicates your data. Make any final adjustments as necessary, and then you're ready to share your document. Remember, the key to an effective chart is that it's easy to understand at a glance, so keep your design clean and focused on the data.
If you are searching about How To Make A Chart In Microsoft Word you've visit to the right page. We have 10 Pictures about How To Make A Chart In Microsoft Word like How To Make A Chart On Microsoft Word, How to Make a Chart in Word and also How To Make A Chart In Word How To Make A Flowchart In Word. Read more:
How To Make A Chart In Microsoft Word
 chartdata.web.app
How To Make A Chart In Microsoft Word
How To Make A Chart On Microsoft Word
 uchart.web.app
How To Make A Chart On Microsoft Word
How To Make A Chart In Microsoft Word - Vegadocs
 vegadocs.com
How To Make a Chart in Microsoft Word - Vegadocs
How To Make A Chart In Word
 www.template.net
How to Make a Chart in Word
How To Make/Create A Chart In Microsoft Word [Templates + Examples] 2026
![How to Make/Create a Chart in Microsoft Word [Templates + Examples] 2026](https://images.template.net/wp-content/uploads/2021/08/How-to-Create-a-Chart-in-Microsoft-Word-Step-2.jpg) www.template.net
www.template.net
How to Make/Create a Chart in Microsoft Word [Templates + Examples] 2026
How To Make A Chart In Microsoft Word
 chartdata.web.app
How To Make A Chart In Microsoft Word
How To Make A Chart In Word How To Make A Flowchart In Word
:max_bytes(150000):strip_icc()/005-how-to-make-a-graph-in-microsoft-word-4c758e582e7c4ab2815a96d77635d66d.jpg) fity.club
fity.club
How To Make A Chart In Word How To Make A Flowchart In Word
How To Make A Chart In Word - Adazing
 www.adazing.com
How to Make a Chart in Word - Adazing
How To Make A Chart In Microsoft Word
 chartdata.web.app
How To Make A Chart In Microsoft Word
How To Make A Chart In Microsoft Word
 chartdata.web.app
How To Make A Chart In Microsoft Word
how to make a chart in microsoft word. How to make a chart in microsoft word. How to make a chart in word

