Creating a DIY pocket chart can be a fun and rewarding project, and it's even easier when you start with a simple black tone. Black is a versatile color that can be paired with a wide range of other colors and patterns, making it the perfect choice for a pocket chart that you want to be able to use in a variety of settings. Whether you're a teacher, a student, or simply someone who loves to organize and keep track of things, a black DIY pocket chart is a great tool to have on hand. Here are some steps and ideas to consider when creating your own black DIY pocket chart.
1. Choose Your Materials
When it comes to creating a DIY pocket chart, the first step is to choose the materials you'll be using. For a black pocket chart, you'll want to start with a black background, which can be a piece of black cardboard, black foam board, or even a black piece of fabric. You'll also need some kind of pockets or pouches to attach to the background, which can be made from a variety of materials, including paper, fabric, or plastic. Consider what you'll be using the pocket chart for and choose materials that will be durable and easy to use.
2. Determine the Size
Before you start creating your DIY pocket chart, you'll need to determine the size you want it to be. Consider where you'll be using the chart and how much space you have available. If you're planning to use the chart on a wall or on a large piece of furniture, you may want to make it larger. On the other hand, if you'll be using it on a smaller surface, such as a desk or table, you may want to make it smaller. Keep in mind that you can always adjust the size of the pockets and the background to fit your needs.
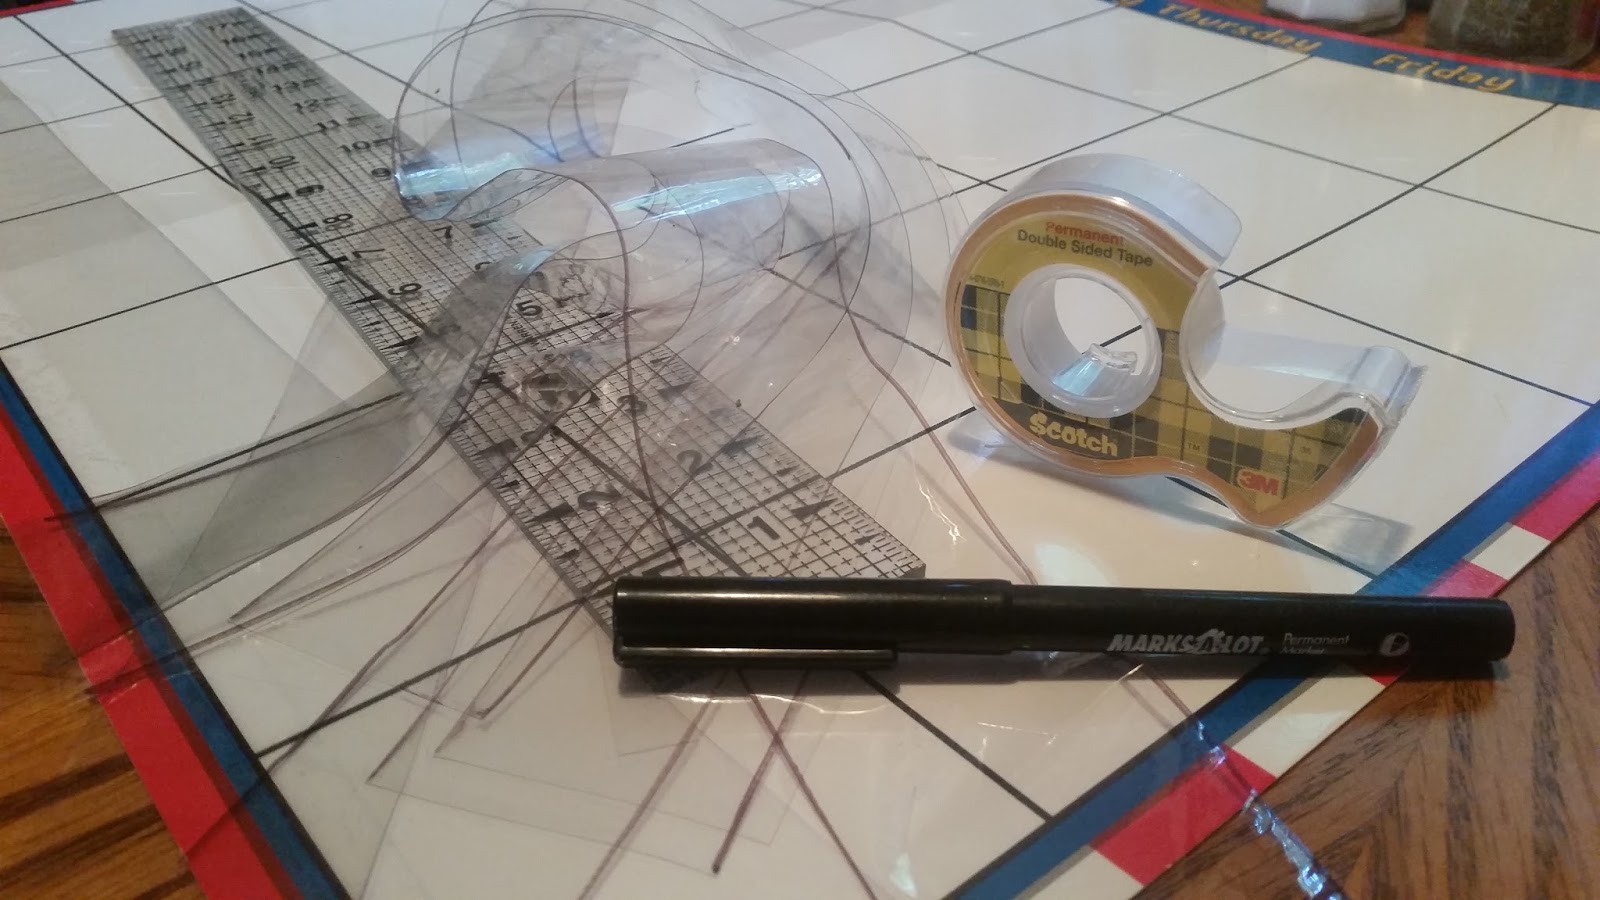
3. Create the Pockets
Once you've chosen your materials and determined the size of your DIY pocket chart, it's time to create the pockets. You can use a variety of methods to create the pockets, including sewing, gluing, or taping. If you're using paper or fabric pockets, you can simply fold and glue them into place. If you're using plastic pockets, you may need to use a hot glue gun or another strong adhesive to attach them to the background. Make sure the pockets are the right size for the items you'll be storing in them.
4. Add Labels and Markings
After the pockets are attached to the background, you can add labels and markings to help you keep track of what's inside. You can use a marker or a label maker to add text or numbers to the pockets, or you can use stickers or other decorative items to make the chart more visually appealing. Consider adding a header or title to the top of the chart to help identify its purpose and contents.
5. Add a Hanger or Stand
Depending on how you plan to use your DIY pocket chart, you may want to add a hanger or stand to make it easier to display. You can attach a piece of string or twine to the top of the chart and hang it on a nail or a hook, or you can use a stand or easel to prop it up on a desk or table. Consider adding a foldable or movable stand to make the chart more portable and versatile.
6. Customize the Design
One of the best things about creating a DIY pocket chart is that you can customize the design to fit your needs and preferences. If you're using a black background, you can add colorful pockets, labels, and decorations to make the chart more visually appealing. You can also add embellishments, such as stickers, stamps, or ribbons, to give the chart a more personalized touch.
7. Use it for Organization
A DIY pocket chart is a great tool for organization, whether you're a teacher, a student, or simply someone who loves to keep track of things. You can use the chart to store notes, reminders, and to-do lists, or you can use it to keep track of assignments, deadlines, and appointments. Consider using the chart to organize your desk, your closet, or your office, and experiment with different ways of using the pockets and labels to stay organized.
8. Make it Interactive
To make your DIY pocket chart more engaging and interactive, consider adding movable pieces or Velcro attachments. You can use the chart to create a game or a quiz, or you can use it to teach a lesson or demonstrate a concept. You can also use the chart to encourage collaboration and participation, such as by adding a "suggestion box" pocket or a "question of the day" label.
9. Add a Closure System
If you're planning to use your DIY pocket chart to store small items, such as paper clips, push pins, or beads, you may want to add a closure system to keep the pockets closed. You can use a variety of methods to create a closure system, including zippers, snaps, or Velcro. Consider adding a closure system to each pocket, or to the entire chart, to keep the contents secure and organized.
10. Experiment and Have Fun
Finally, the most important thing to remember when creating a DIY pocket chart is to experiment and have fun. Don't be afraid to try new things and make mistakes – they can often lead to new and exciting ideas. Consider involving friends or family members in the process, or using the chart as a teaching tool to help others learn about organization and creativity. With a little imagination and creativity, you can create a unique and functional DIY pocket chart that meets your needs and exceeds your expectations.
If you are looking for Sharing with Miss Shawnda: DIY Pocket Chart Calendar you've came to the right web. We have 10 Pics about Sharing with Miss Shawnda: DIY Pocket Chart Calendar like Pocket Chart DIY | Organized Classroom, Pocket Chart DIY | Organized Classroom and also Sharing with Miss Shawnda: DIY Pocket Chart Calendar. Here you go:
Sharing With Miss Shawnda: DIY Pocket Chart Calendar
 sharingwithmissshawnda.blogspot.com
Sharing with Miss Shawnda: DIY Pocket Chart Calendar
Diy Pocket Chart Calendar – Artofit
 www.artofit.org
Diy pocket chart calendar – Artofit
DIY CVC Pocket Chart - Number Dyslexia
 numberdyslexia.com
DIY CVC Pocket Chart - Number Dyslexia
Diy Pocket Chart Calendar – Artofit
 www.artofit.org
Diy pocket chart calendar – Artofit
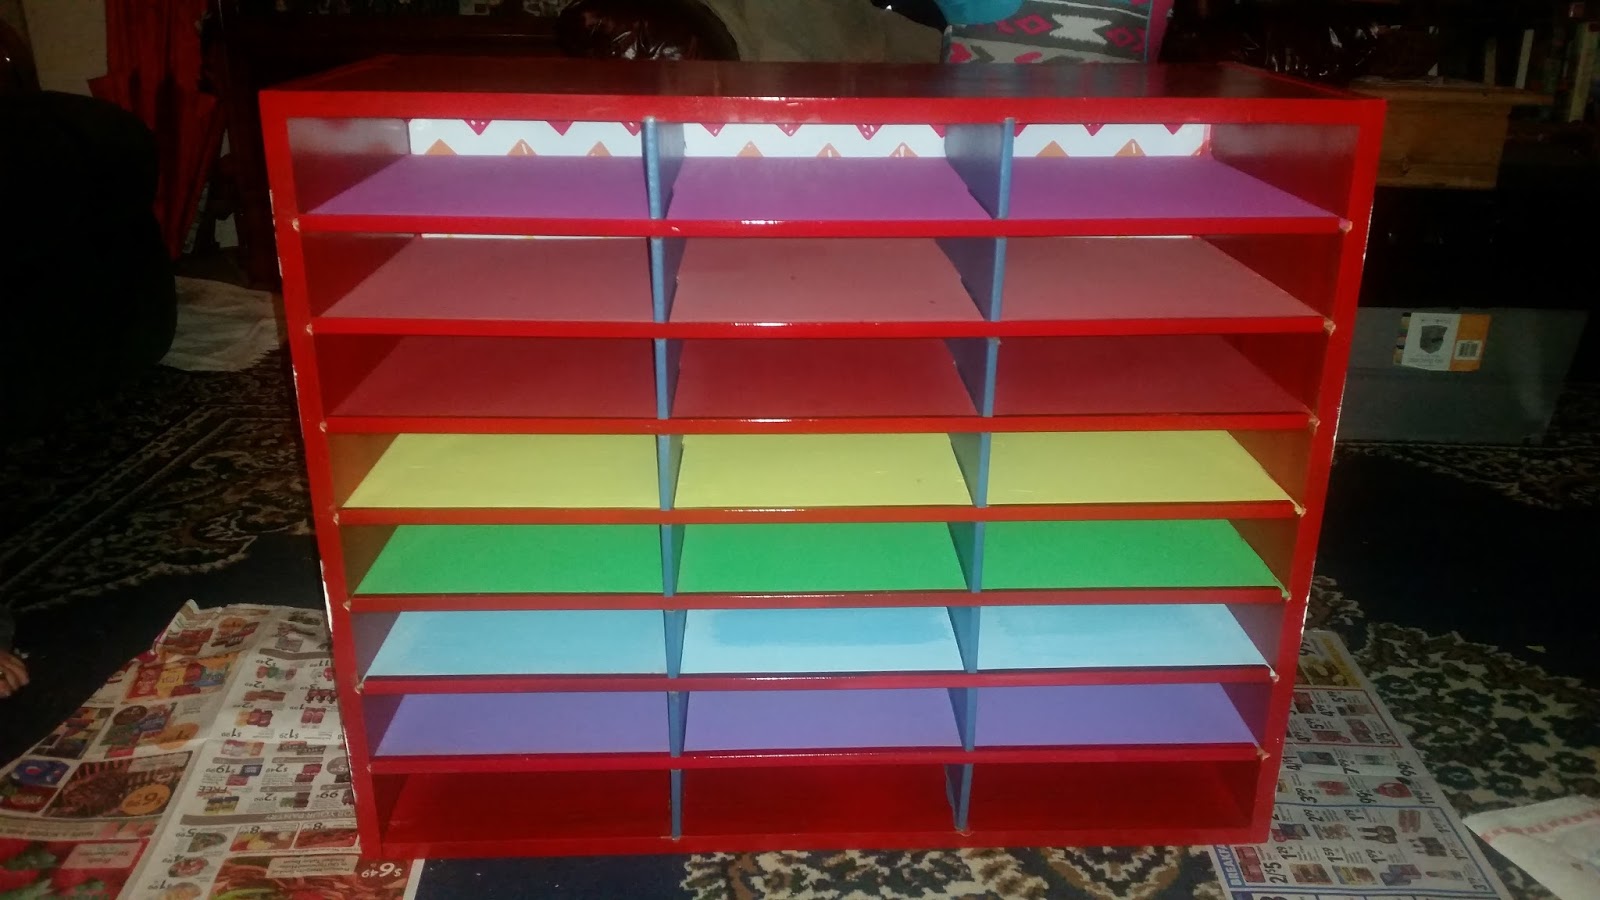
Pocket Chart DIY | Organized Classroom
 organizedclassroom.com
Pocket Chart DIY | Organized Classroom
Customizable DIY Pocket Chart
 ca.pinterest.com
Customizable DIY Pocket Chart
Sharing With Miss Shawnda: DIY Pocket Chart Calendar
 sharingwithmissshawnda.blogspot.com
Sharing with Miss Shawnda: DIY Pocket Chart Calendar
Pocket Chart DIY | Organized Classroom
 organizedclassroom.com
Pocket Chart DIY | Organized Classroom
Sharing With Miss Shawnda: DIY Pocket Chart Calendar
 sharingwithmissshawnda.blogspot.com
Sharing with Miss Shawnda: DIY Pocket Chart Calendar
Pocket Chart DIY | Organized Classroom
 organizedclassroom.com
Pocket Chart DIY | Organized Classroom
pocket chart diy. Pocket chart diy. Sharing with miss shawnda: diy pocket chart calendar

